
Looking to record your screen on Windows? You've landed in the right spot.
Screen recording can be a life-saver, whether for presentations, tutorials, or just sharing a quick demo. Sure, Windows has its built-in solutions, but let’s be real: sometimes, you need a dedicated tool to get the job done right.
What is Screen Recording?
Screen recording: it sounds techy, right? But it's simply capturing what's happening on your screen. Whether you're showcasing a process, creating a training, or sharing a gameplay moment (we won’t judge), screen recording is your go-to. And the best part? It's easier than you might think.
Why Use a Dedicated Tool like Claap?
Ever tried using a knife as a screwdriver? It can work, but it's not ideal. The same goes for screen recording. While Windows offers built-in methods, it comes with limitations.
The process feels heavy and complex. Add in the frustration of static, non-interactive videos and the pain of easily misplacing them. Seeking specific info in lengthy videos? That's no picnic either. The good news? That's where Claap shines.
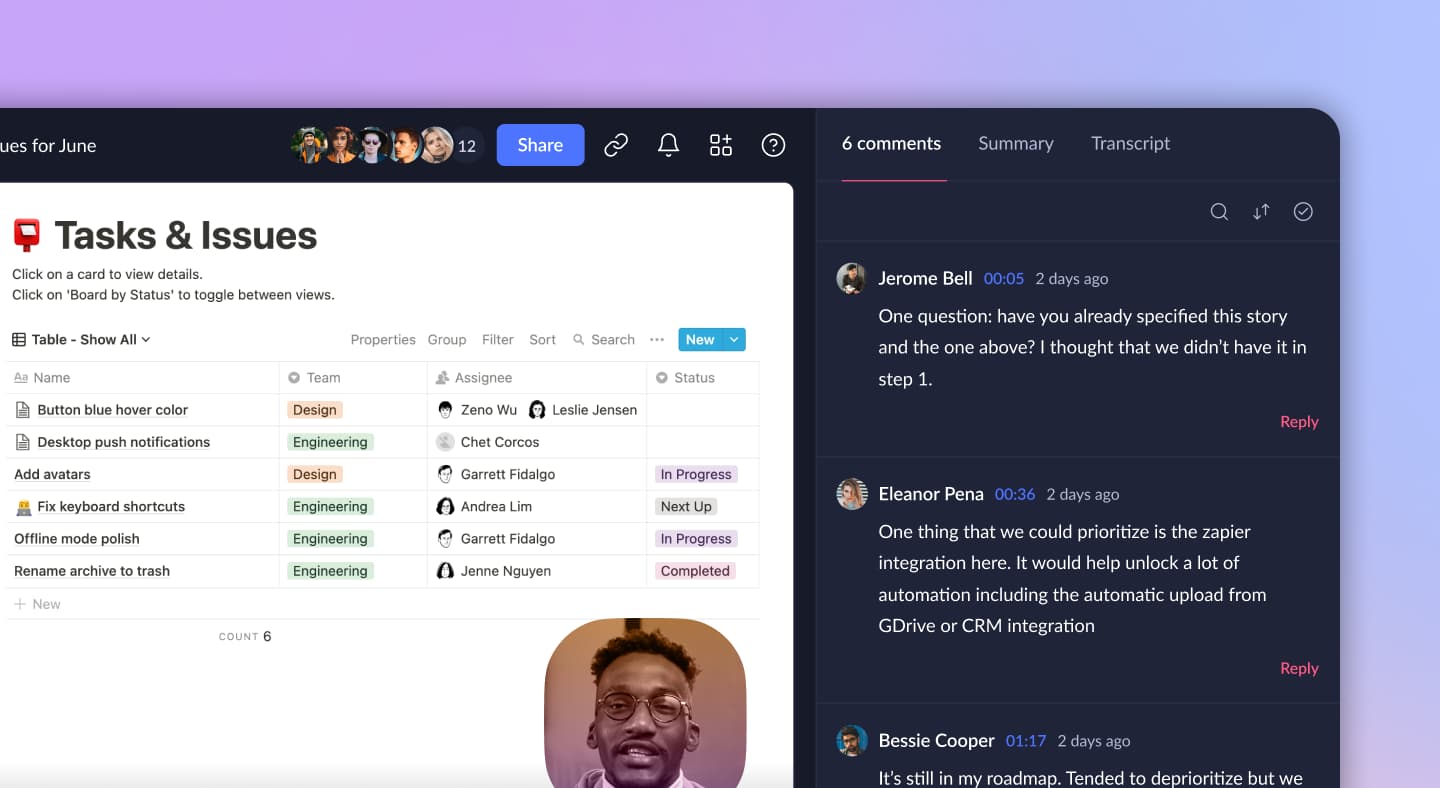
Claap is more than just a screen recorder for Windows users; it's a tool designed for productive collaboration. Share quick screen videos, get rapid feedback, and tap into AI-driven transcripts and analytics.
Here's why Claap is your go-to for Windows screen recording.
- Instant capture & share: One click. That's all you need with Claap to start and then jet-set your screen recording to your team.
- Speed watch + transcripts: Why wait? Let your team blitz through your recordings at 1.5x, 2x, or a blazing 3x speed – all with crystal clear transcripts in tow.
- Engage & interact: No more passive viewing! Ignite team collaboration with video annotations, threaded feedback, polls, and lively video replies.
Quick Start: How to Screen Record on Windows with Claap
Create a free account
Go to Claap and create a free account. You can even sign-up with your Google Account for a speedy process. Right away, you’ll be asked to install our Chrome extension.
Record your screen or upload a video
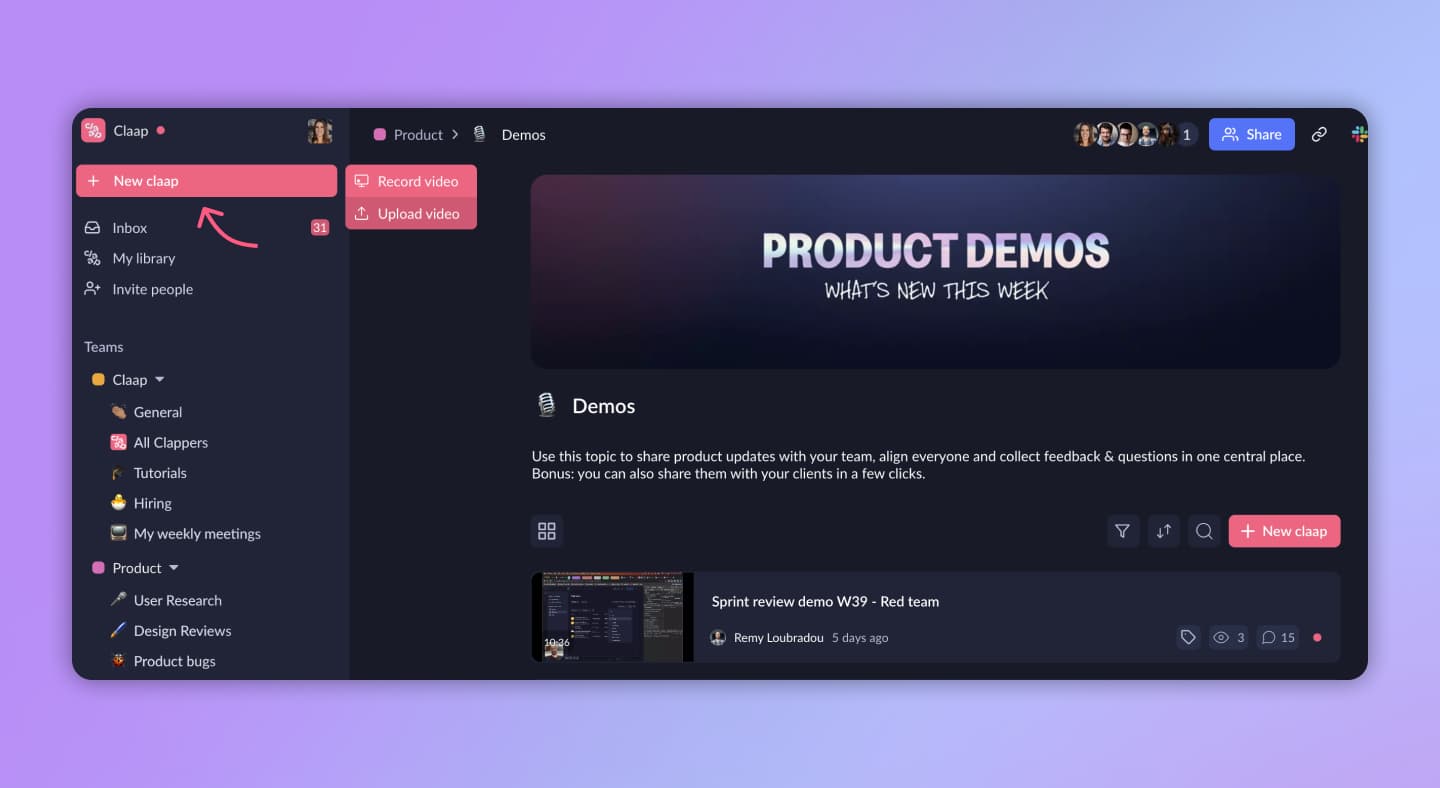
Click on the Chrome extension and select your recording mode: webcam, screen, or both at the same time. You can also choose to record just a specific window or your entire screen. Click on Record claap. That’s it.
Share the link or embed it anywhere
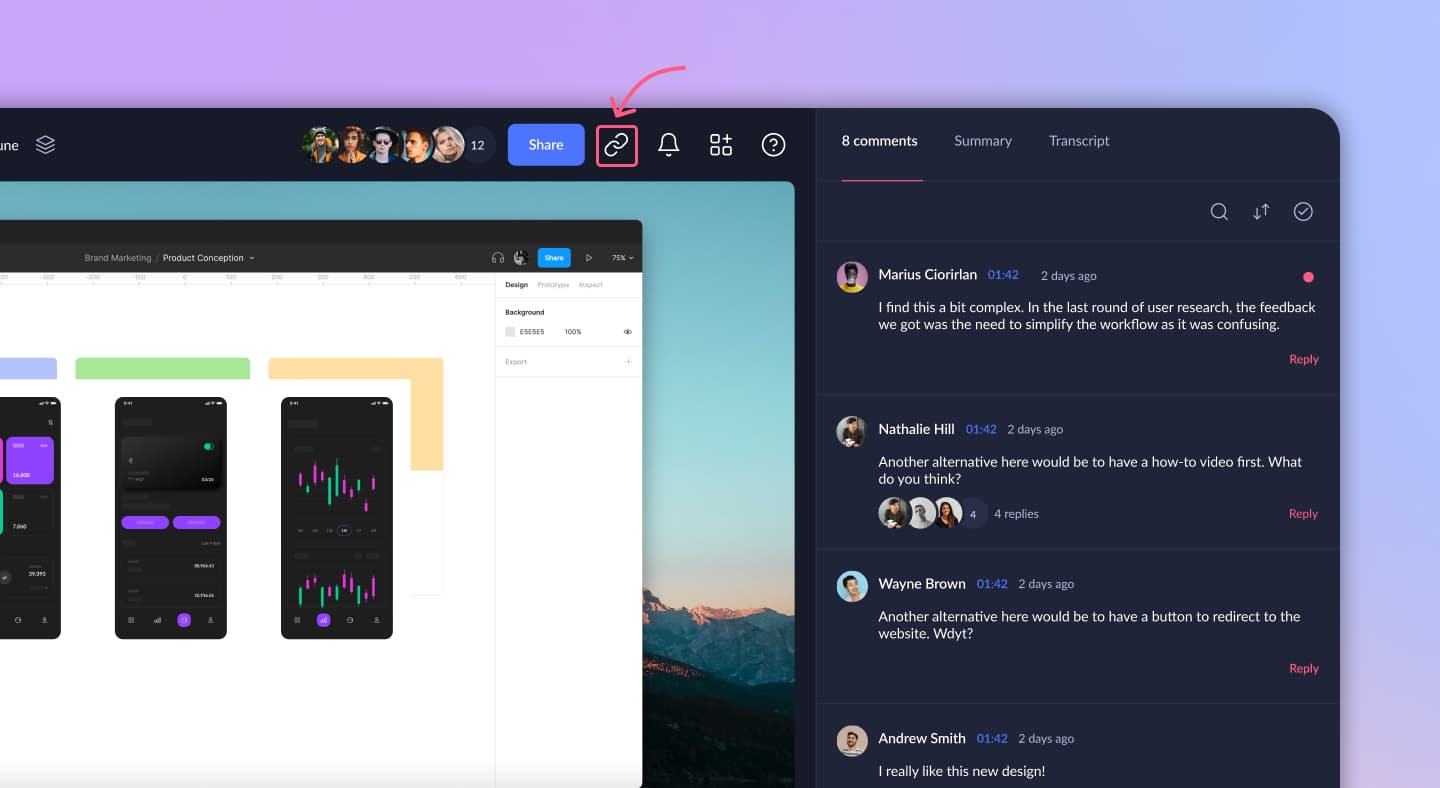
Ditch the uploads. Just grab the link and send it over to your team. Need to embed it? No problem. Drop it in Slack, Notion, your site, and more. See our full integration list here.
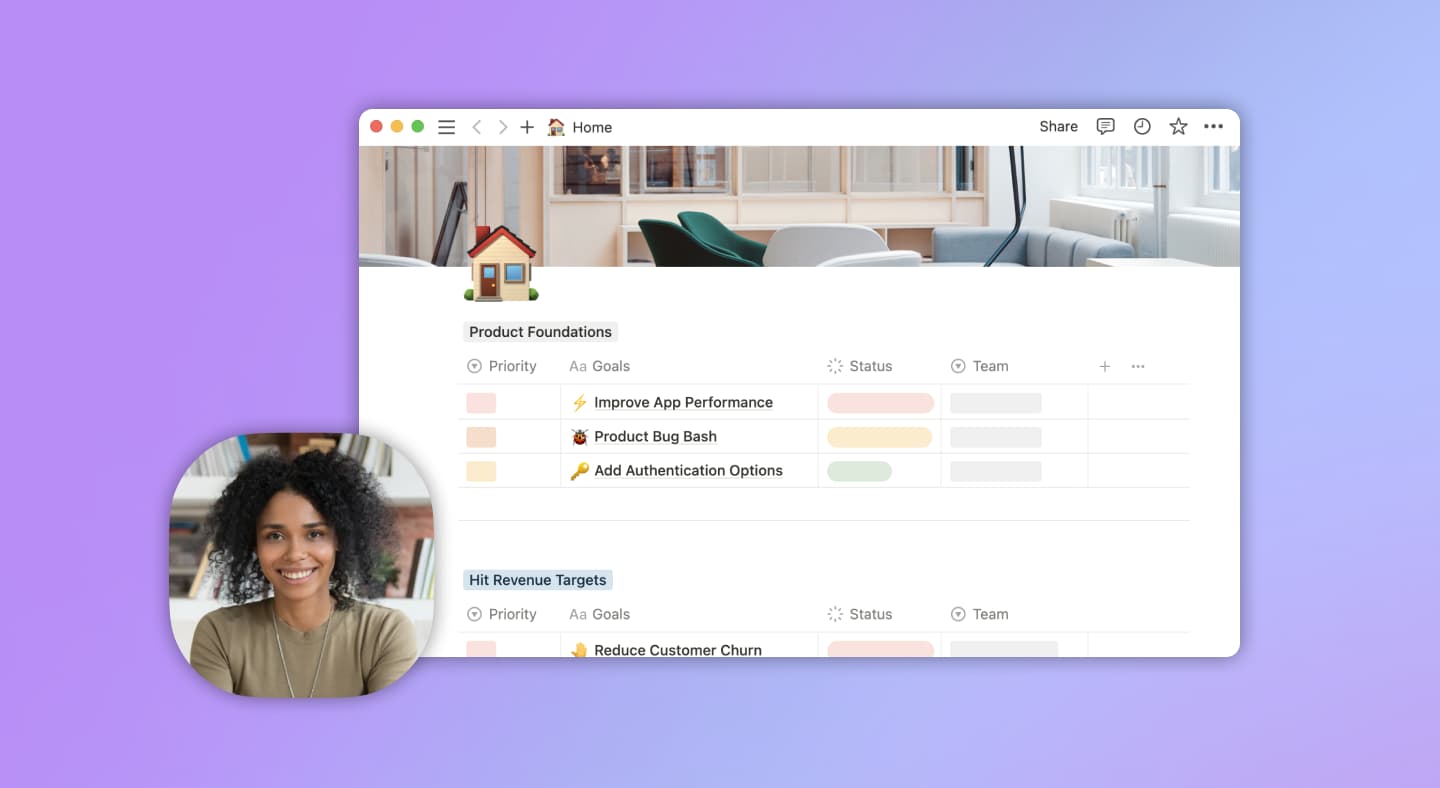
Sharing and Collaborating
Sort your videos by channel or team in one shared space. And the best part? Your team can add comments and ask questions directly in your video. Engage with comments and get insights on viewer interactions with our video analytics.
Here’s a quick screen record for Windows tutorial:
Using Windows Native Solutions
Screen record using the Snipping Tool
Windows users are likely familiar with the Snipping Tool for its efficient screenshot capabilities available in both Windows 10 and 11.
But here's a lesser-known fact: the Snipping Tool in Windows 11 can also be used to screen record videos. It's good for quick screen recordings without any fancy stuff.
However, it has some limitations:
- No direct keyboard shortcut for recording; you need to open the tool first.
- It doesn't record audio or voice over.
- This feature is exclusive to Windows 11, so older versions will need an upgrade.
Here’s how to Screen Recording with the Snipping Tool in Windows 11:
- Use the search bar or Win + S to find the Snipping Tool.
- Launch it and find the camcorder icon, which shifts you from screenshot to video mode.
- Hit "New". An overlay pops up, showing the start option and timer. Choose between capturing a screen section or the full screen.
- Decide on the area, press "Start", and after a brief countdown, recording begins.
- Finished? Press "Stop". Preview within the Snipping Tool, share directly, or edit with your preferred video software.
Screen record using Xbox Game Bar
Primarily known as a gaming tool, the Xbox Game Bar comes built into Windows PCs, making it a convenient screen recording option. While it’s designed for capturing game action, it also records apps from the Windows Store, Universal Windows Platform, and Microsoft Edge.
However, be aware of its limitations:
- It won’t record your desktop, File Explorer, or utility apps.
- Videos max out at 30 or 60 fps.
- It records just one window at a time.
Recording Steps with Xbox Game Bar:
- Navigate to the app you wish to record.
- Launch Xbox Game Bar with Windows key + G or the Xbox button. First-timers, select "Yes, this is a game" – regardless of the actual content.
- Head to Settings, then Capturing. Here, select desired audio options: audio from your system, or just the sound from your app and microphone.
- Start the recording by clicking the corresponding button or using Win + Alt + R.
- To exit the bar and start recording, use the Escape key or Win + G. A timer at the screen's top-right indicates the recording duration.
- To conclude, click 'Stop'. If the Game Bar vanishes during recording, here’s what you need to do:
- use Win + Alt + R to stop the recording.
- Win + G to bring back the Game Bar and stop the recording from there.
- To find and review captures, click “Show all captures” within the Game Bar, or access the Captures subfolder in the Gaming directory of your File Explorer.
Tips for Successful Screen Recording
Nailing that perfect screen recording? It's more than just pressing 'record'. Here's how you elevate your game.
1. Prep Your Workspace.
Clear your desktop of unnecessary icons and clutter. Close those extra tabs. Trust me, distractions detract. A clean workspace = a professional look.
2. Mind Your Background Processes.
Notifications popping up mid-recording? Cringe. Disable those or use "Do Not Disturb" modes. And check for CPU-hogging apps that might lag your recording.
3. Choose the Right Screen Area.
Don't make viewers squint. Zoom in on essential details. But if you're showcasing multiple elements? Go full screen.
4. Mind Your Pacing.
Rushing through steps confuses viewers. On the flip side, dawdling loses interest. Find that sweet pacing spot and stick to it.
5. Engage Emotionally.
Believe it or not, screen recordings can have a vibe. Inject some personality or humor where appropriate. Dry tutorials? A thing of the past.
6. Include Interactive Elements
With Claap you can include clickable links and even polls in your video. It's a dynamic way to boost engagement and understanding.
7. Accessibility Matters.
Think about adding captions or transcripts. Not only is it inclusive, but it also aids understanding and boosts SEO.
8. Post-Editing is Your Friend.
Once done, trim the fluff. Edit out long pauses or mistakes. Polishing can turn a good recording into a stellar one.
Remember, it's about clarity and value. Keep your audience in mind, and you'll rock that screen recording game.
FAQ

.jpg)
.jpg)

.jpg)
