People love to record their meetings. Gone are the days of leaving behind all the wisdom you hear in meetings, only to have some lackluster minutes writeup to catch up on later.
The only problem is actually remembering to rewatch them. Busy schedules and back-to-back meetings means sometimes the last thing you want is to rewatch another meeting.
Here’s how to make sure you never miss a meeting recording again.
How Do I Record My Calls?
Google Meet
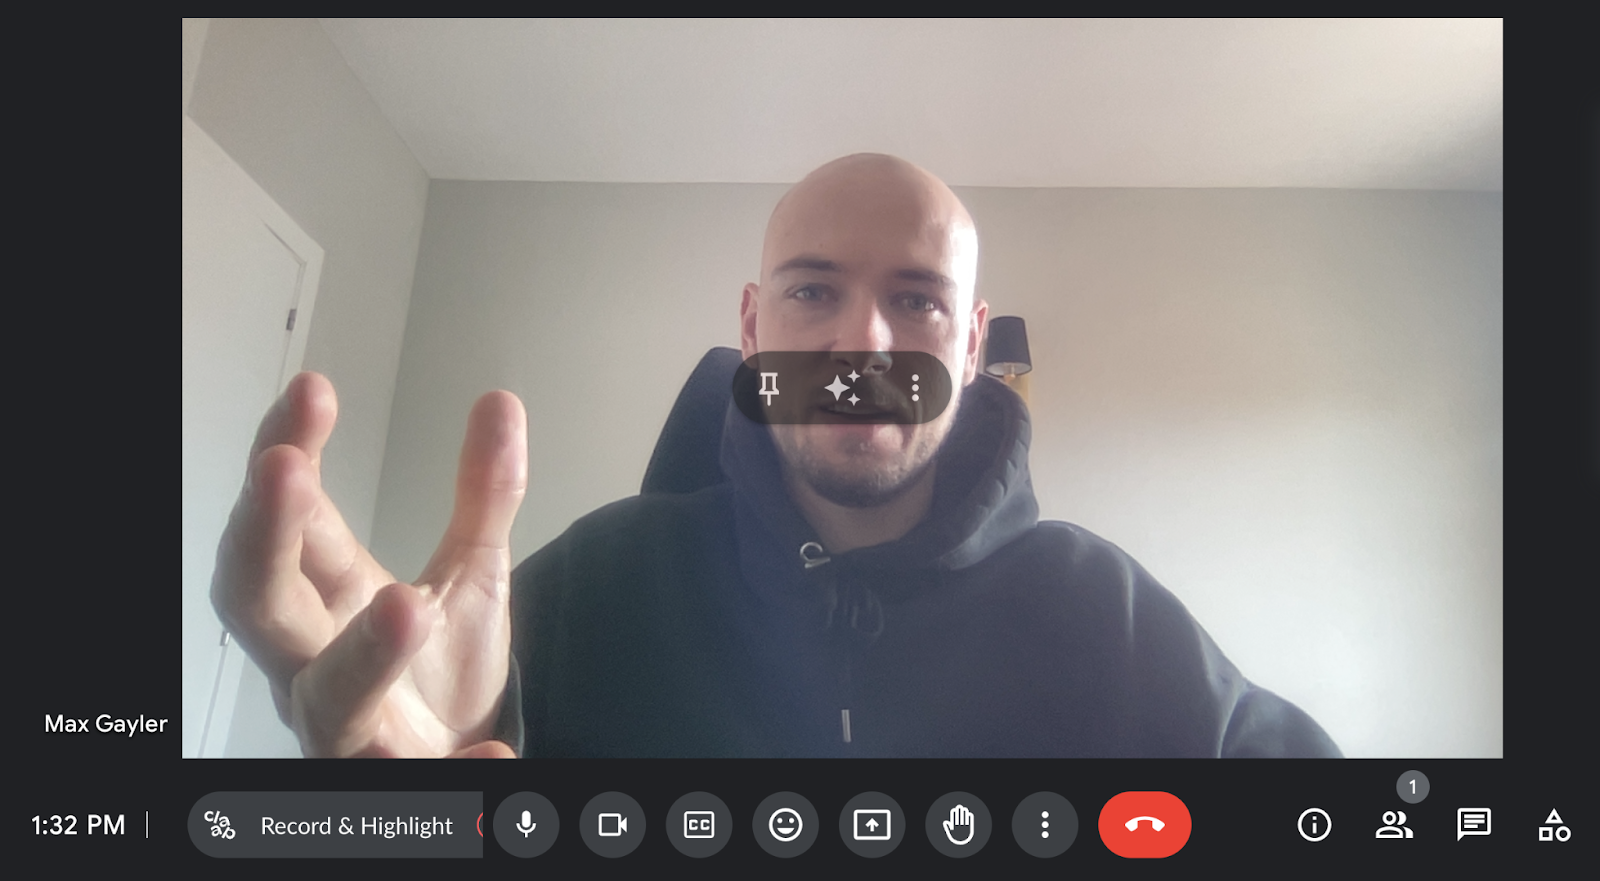
- Start or Join a Google Meet: Open Google Meet and either start a new meeting or join an existing one.
- Open the Meeting Controls: Look for the three dots (More options) at the bottom-right corner of the Meet window and click on them.
- Start Recording: From the menu that appears, select "Record meeting". If you don't see this option, recording might not be enabled for your account or organization.
- Inform Participants: Once you start recording, all participants will be notified that the recording has begun. This is to ensure privacy and consent.
- Stop Recording: To stop recording, click on the three dots (More options) again and select "Stop recording". The recording will automatically be saved to the meeting organizer’s Google Drive in a folder labeled "Meet Recordings".
- Accessing the Recording: After the meeting, the organizer will receive an email with the recording link. The link can also be found in the meeting’s Calendar event and in the original Meet invitation.
Make sure you have the necessary permissions to record meetings, as these settings are managed by the organization's admin.
Zoom

- Join or Start a Meeting: Open Zoom and either start a new meeting as a host or join one where you have permission to record.
- Access Recording Option:some text
- If you are the host, you can start recording by clicking on the "Record" button located on the toolbar at the bottom of the meeting window.
- If you are a participant wanting to record, you must have permission from the host. The host can grant this permission during the meeting.
- Choose Recording Type: Upon clicking "Record," you may be presented with options to record on this computer/device or to the cloud (if you have a paid Zoom account). Choose your preferred method.
- Recording Begins: Once recording starts, all participants will see a "Recording..." indicator on the upper left part of the screen.
- Pause/Stop Recording:some text
- You can pause or stop the recording at any time by clicking the "Pause/Stop Recording" button on the toolbar. If you pause, you can resume recording by clicking "Resume Recording."
- Stopping the recording ends the recording session but does not end the meeting.
- Ending the Meeting and Saving the Recording:some text
- If you record to your computer, the recording files will be converted and saved automatically to your designated folder once the meeting ends.
- If you record to the cloud, the recording will be processed and made available in your Zoom account under the "Recordings" section.
- Accessing and Sharing Your Recording:some text
- For recordings saved on your computer, you can find them in the Zoom folder within your Documents folder (or your specified location).
- For cloud recordings, you can access them through your Zoom account online. You’ll have options to view, download, or share the recording link.
Ensure you comply with privacy laws and Zoom’s policies by informing participants before recording. Different organizations and regions have specific regulations regarding recording consent.
What Do I Do if My Meeting is Very Long?
If the idea of recording your meetings, downloading files, buying video editing software, exporting files, uploading them, organizing them seems like too much work, try Claap’s all-in-one video solution.
Record all your meetings automatically, create quick async video updates in two clicks, and store all your videos into customizable channels all from a Chrome extension in your browser.
- Connect Claap to your calendar: Once you’ve logged into Claap, connect with your Zoom, Google or Outlook calendar so all your meetings will be recorded automatically and uploaded to your Claap workspace.
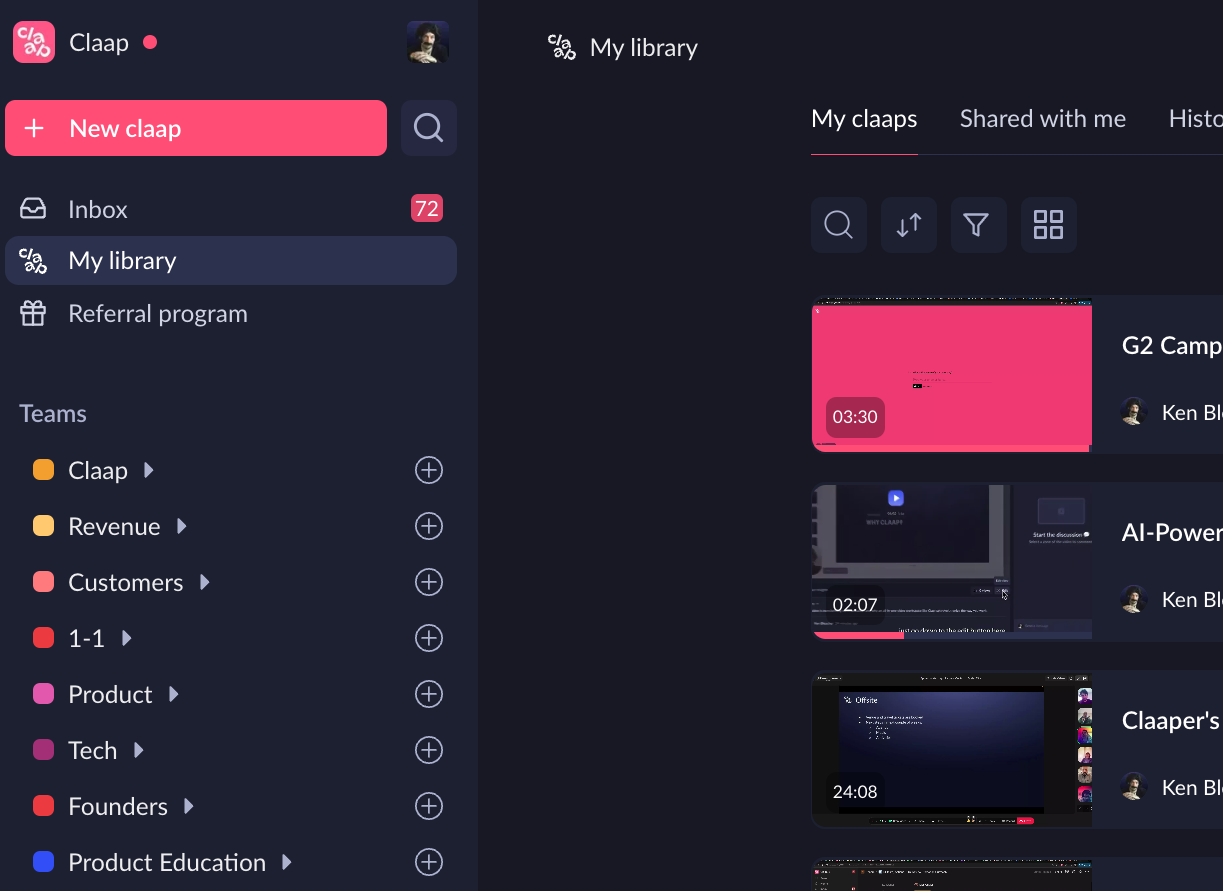
- Find your recording: All your recordings will be automatically saved into your Claap account. You can find your most recent claaps in the “My library” section.
- Trim your video: Click on the trim button to open the editing suite and cut out the parts of the video you don’t want to keep. You can even delete parts of the transcript to make that part disappear.
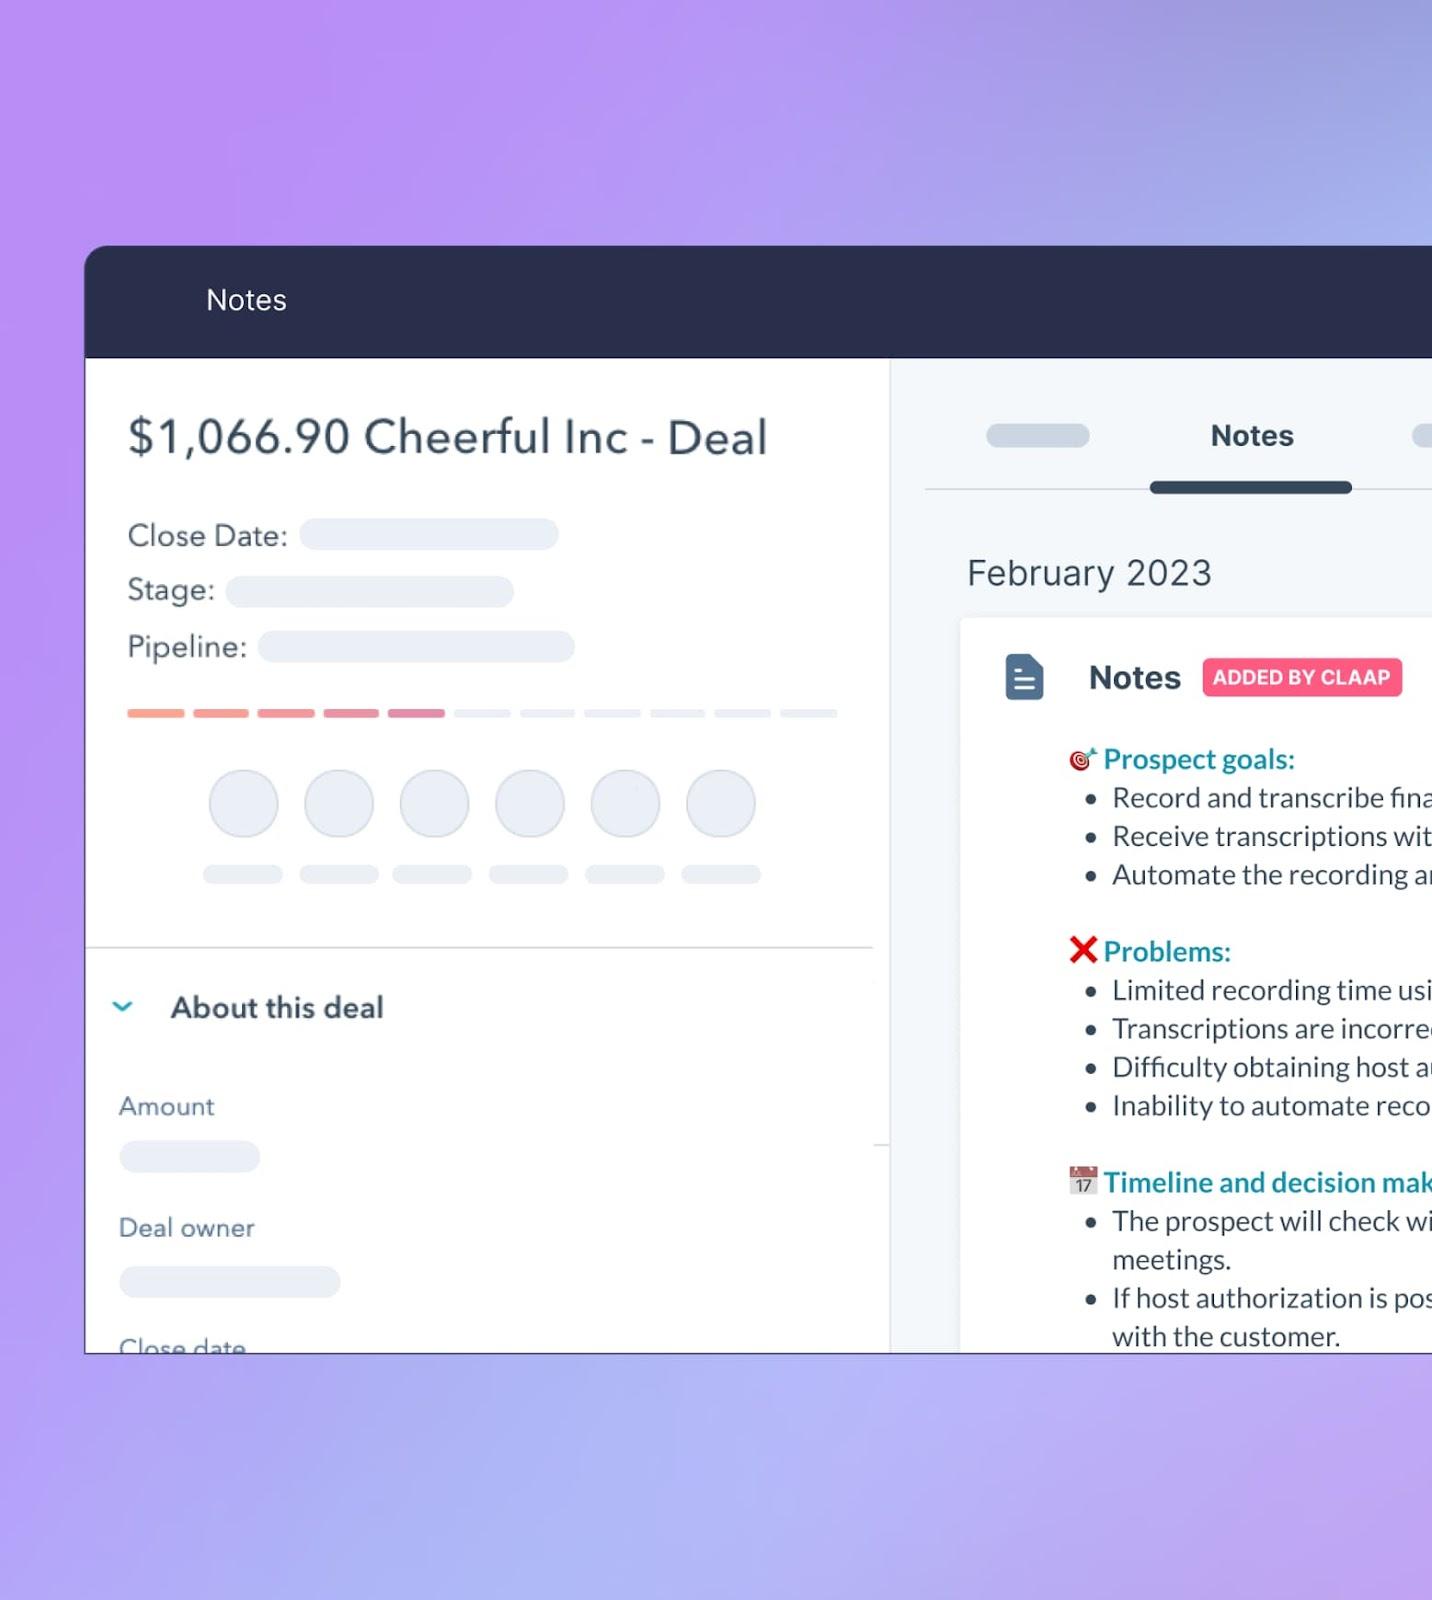
- Share it with your team: You can also configure your meetings so certain meetings are saved into appropriate folders inside your Claap workspace. These can then be connected to Notion or Hubspot so all your recordings are shared to your everyday tools.
How to Bookmark Call Recordings for Later
When you finish a Google Meet or Zoom meeting, your call recording is either emailed to you, saved onto your computer, or saved in the cloud. Either way, it’s not exactly easy to remind yourself to watch all_hands.4_catchup-14/08/24 when you’ve got a spare second.
When you record your meetings with Claap, they’re automatically saved into your workspace. You can configure your setting so any meeting recordings go into your “Watch Later” channel. You can even use speaker analytics to track who in your team has and hasn’t seen it.
Why Should I Use Claap to Record My Meetings?
Using Claap to record your meetings transforms them into an actionable, searchable resource, allowing you and your team to revisit discussions, decisions, and ideas at any time, thus significantly reducing the need for follow-up meetings.
Its intuitive interface and productivity tools, like highlighting key moments and assigning tasks directly from the recordings, streamline collaboration and ensure no detail is overlooked, enhancing team efficiency and project management.
FAQ


